
S’mores Icebox Cake Recipe
Introduction
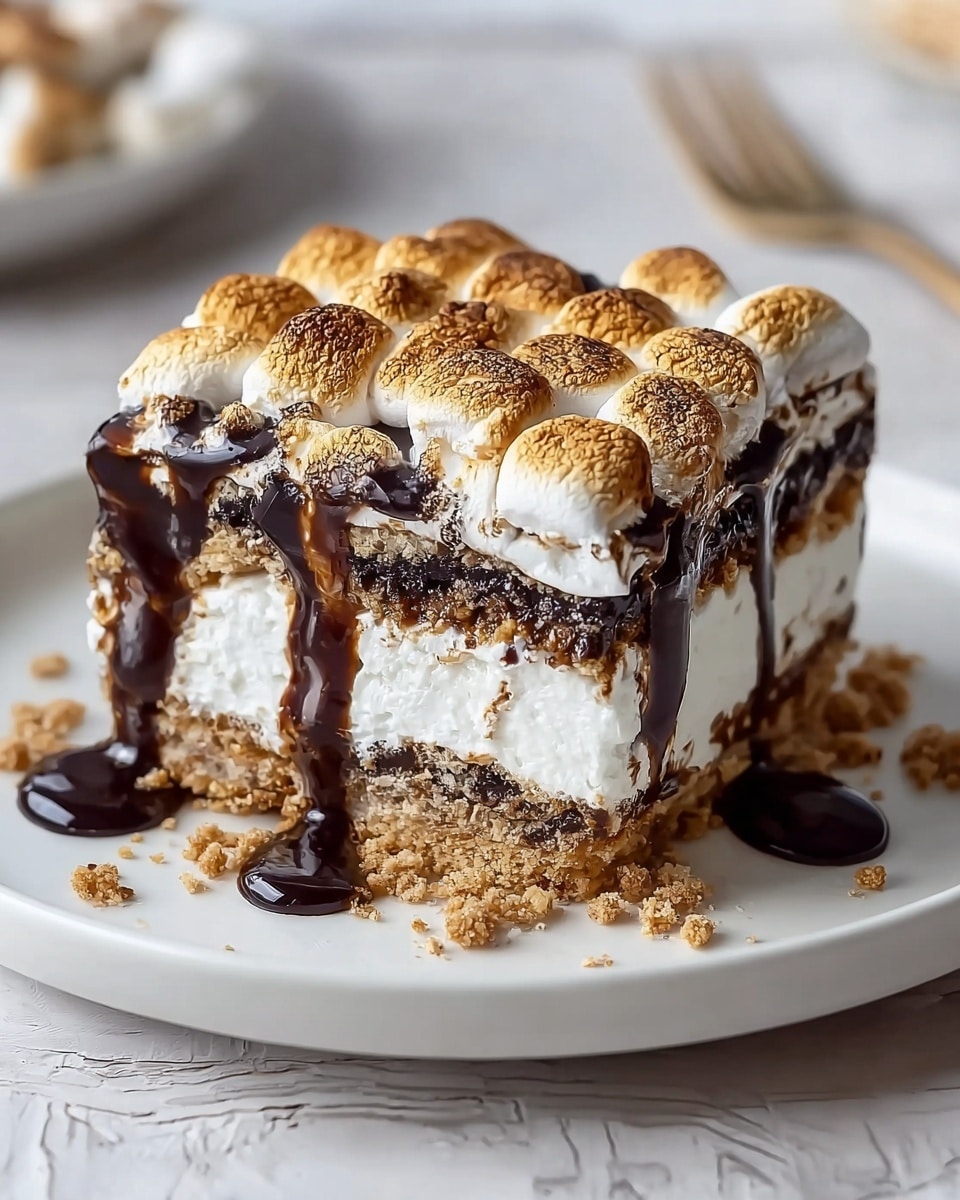
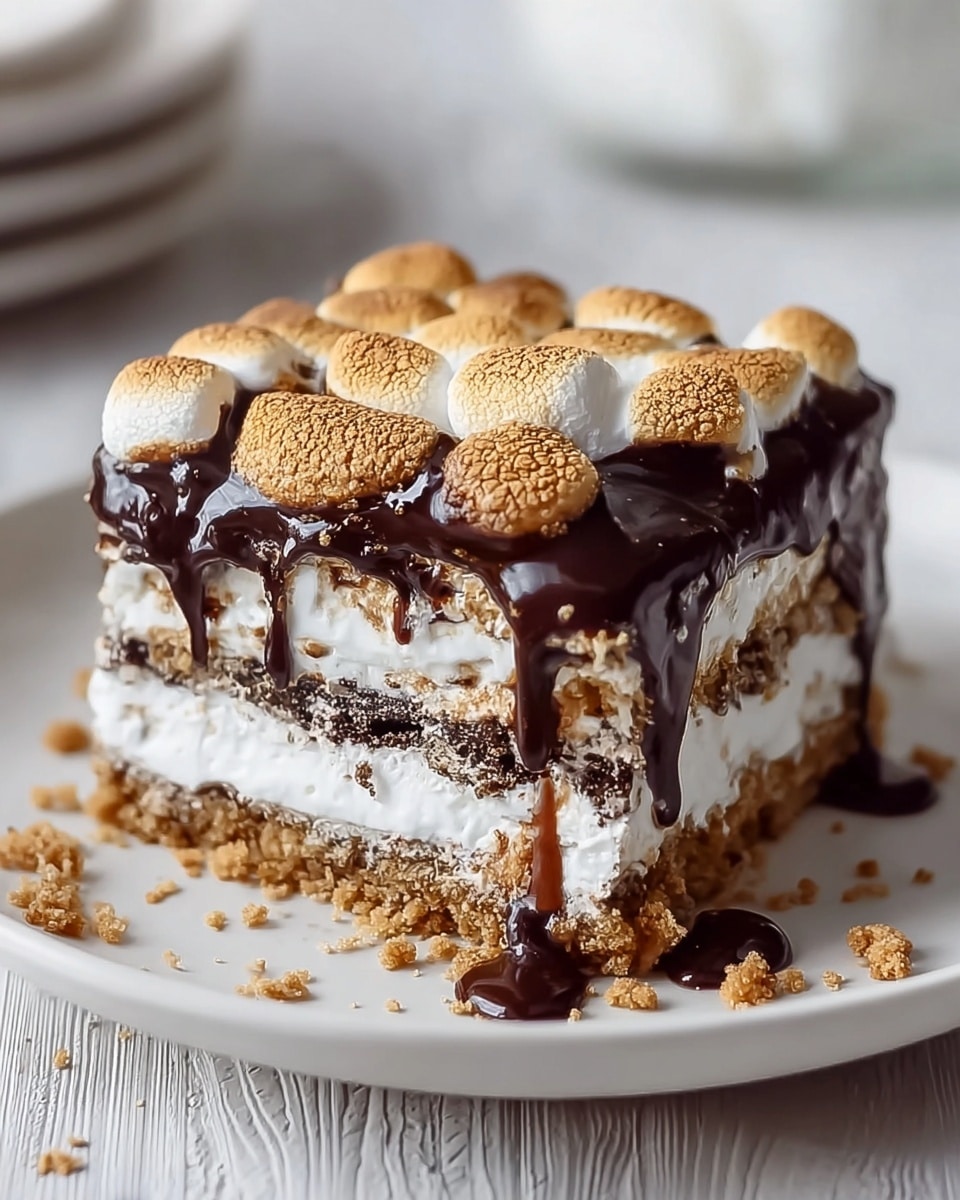
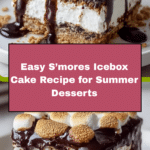
S’mores Icebox Cake brings the nostalgic flavors of classic campfire s’mores into a beautifully layered, no-bake dessert. Combining graham crackers, fluffy marshmallows, and rich chocolate, this cake is creamy, crunchy, and perfect for warm evenings or family gatherings. It’s easy to make and sure to impress your guests with every slice.
Ingredients
- 9 oz dairy-free whipped topping (such as So Delicious CocoWhip)
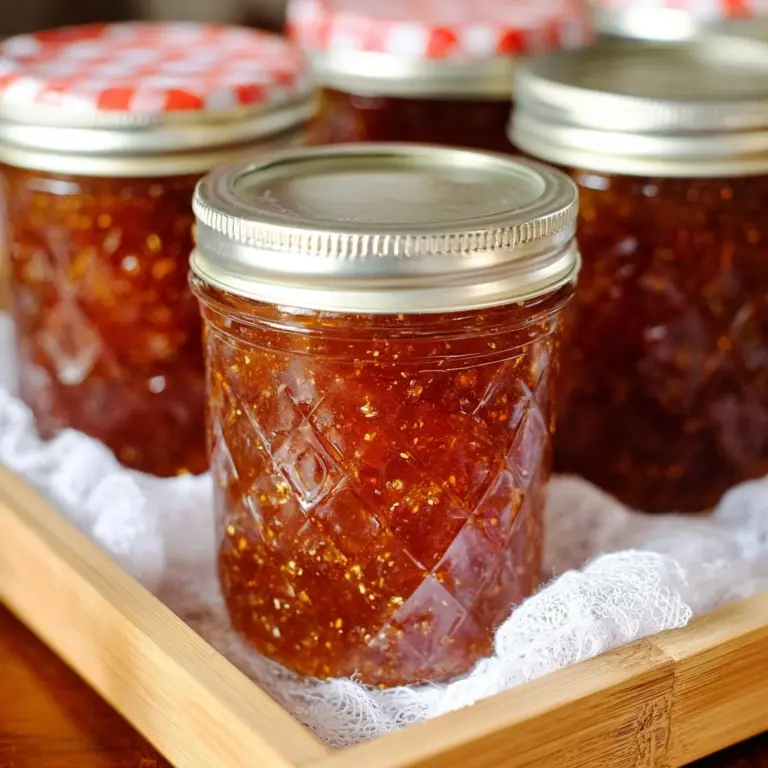
- 7.5 oz jar gluten-free marshmallow creme or fluff
- 2 cups gluten-free mini marshmallows
- 9 oz dark or semi-sweet chocolate chips (recommend Enjoy Life)
- 3/4 cup lite canned coconut milk
- 2 (8 oz) boxes gluten-free graham crackers (such as Kinnikinnick S’moreables)
Instructions
- Step 1: In a large bowl, combine the dairy-free whipped topping and marshmallow fluff. Whisk until mostly smooth, leaving some marshmallow lumps for texture. Fold in the mini marshmallows, then refrigerate the mixture until well chilled.
- Step 2: Measure out 2 tablespoons of chocolate chips and set aside for topping. Place the remaining chips in a medium bowl. Heat the coconut milk in the microwave for about 45 seconds until simmering, then pour over the chocolate chips. Let sit for 5 minutes, then whisk until smooth to create a ganache.
- Step 3: Line a 5×9-inch loaf pan with saran wrap, leaving overhang for easy removal. Spread 1 cup of the marshmallow mixture evenly on the bottom of the pan.
- Step 4: Add a layer of graham crackers, breaking pieces to fit as needed to cover the marshmallow layer.
- Step 5: Spread another cup of the marshmallow mixture over the graham crackers, then smooth 1/2 cup of the chocolate ganache on top.
- Step 6: Repeat the layering—graham crackers, marshmallow mixture, then chocolate—two more times, ensuring each layer is even and well distributed.
- Step 7: Cover the top tightly with saran wrap and refrigerate overnight to let the flavors meld and the layers set.
- Step 8: When ready to serve, remove saran wrap from the top, invert the cake onto a cutting board, and gently pull the overhanging plastic to release the cake. Sprinkle reserved chocolate chips and some crumbled graham crackers on top. Slice and enjoy.
Tips & Variations
- Use aquafaba instead of dairy-free whipped topping for a lighter, vegan option.
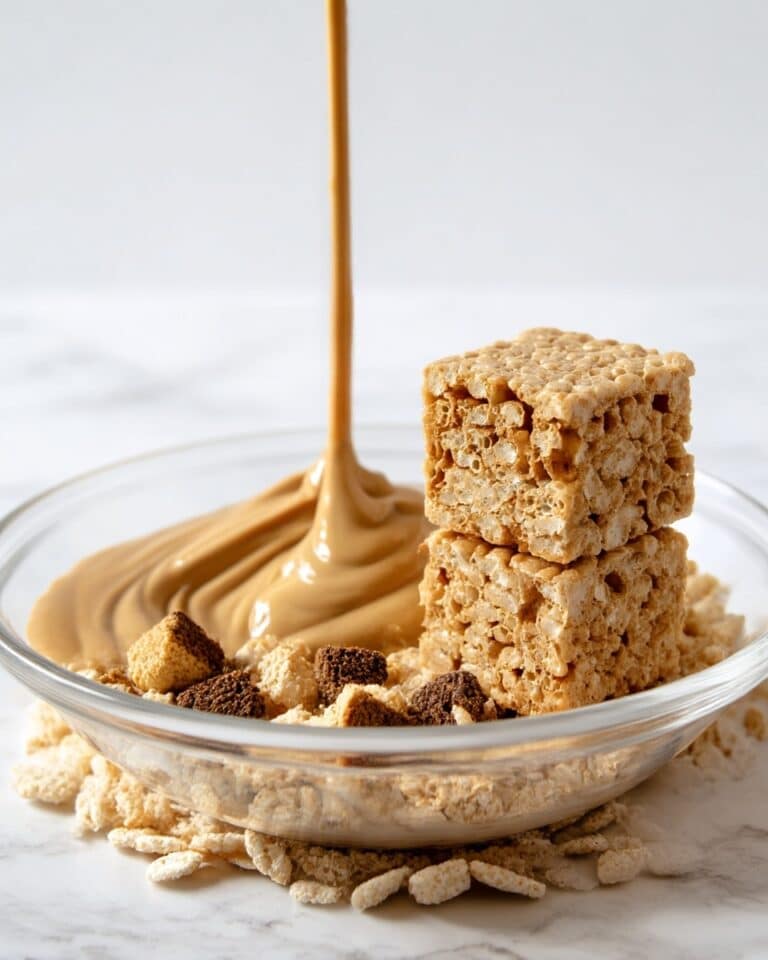
- Substitute marshmallow fluff with nut butter (almond or peanut) for a nutty twist.
- Add a layer of Nutella or your favorite chocolate spread for extra richness.
- Store-bought graham crackers work in a pinch, but homemade ones add an extra special touch.
- If marshmallow fluff is stiff, gently warm it to make mixing easier.
- For a cozy presentation, garnish with toasted mini marshmallows and serve with vanilla ice cream or whipped cream.
Storage
Store leftover cake slices in an airtight container in the refrigerator for 3-4 days. Enjoy chilled or allow them to sit at room temperature for a few minutes before serving. For longer storage, freeze individual slices for 2-3 months and thaw overnight in the fridge before eating.
How to Serve
Serve this delicious recipe with your favorite sides.
FAQs
Can I make this cake ahead of time?
Yes! The cake actually tastes better after chilling overnight as the layers set and flavors meld perfectly.
Is this recipe vegan and gluten-free?
This recipe is gluten-free when using gluten-free graham crackers and marshmallow creme. It can be vegan if you use dairy-free whipped topping and ensure your marshmallow fluff and chocolate chips are vegan-friendly.
Print
S’mores Icebox Cake Recipe
- Total Time: 8 hours 20 minutes (includes chilling time)
- Yield: 8 servings 1x
- Diet: Gluten Free, Vegan
Description
This S’mores Icebox Cake is a deliciously layered, no-bake dessert combining gluten-free graham crackers, fluffy marshmallow creme, dairy-free whipped topping, and rich chocolate ganache. It recreates the nostalgic flavors of classic s’mores in an elegant, creamy, and crunchy cake perfect for warm gatherings or cozy family nights.
Ingredients
Essential Components
- 9 oz dairy-free whipped topping (e.g., So Delicious CocoWhip)
- 7.5 oz jar gluten-free marshmallow creme or fluff
- 2 cups gluten-free mini marshmallows
- 9 oz dark or semi-sweet chocolate chips (e.g., Enjoy Life chips)
- 3/4 cup lite canned coconut milk
- 2 (8 oz) boxes gluten-free graham crackers (e.g., Kinnikinnick S’moreables)
Optional Toppings
- Reserved 2 tbsp chocolate chips
- Crumbled graham crackers for garnish
Instructions
- Combine Toppings for the Creamy Base: In a large bowl, whisk together the dairy-free whipped topping and marshmallow fluff until mostly smooth, retaining some texture from marshmallow lumps. Fold in the gluten-free mini marshmallows gently. Refrigerate until chilled to allow mixture to firm up.
- Melt Chocolate to Create the Ganache: Reserve 2 tablespoons of chocolate chips for garnish. Place the remaining chocolate chips in a medium bowl. Heat the lite canned coconut milk in the microwave for about 45 seconds until it begins to simmer gently. Pour the hot coconut milk over the chocolate chips and let stand for 5 minutes. Whisk until smooth and glossy to form a silky ganache. Set aside.
- Line Your Pan for Easy Assembly: Line a 5×9-inch loaf pan with saran wrap, leaving ample overhang on all sides for easy cake removal later. Scoop 1 cup of the chilled marshmallow mixture into the bottom of the pan and spread evenly to form the first creamy layer.
- Layer with Graham Crackers: Add a layer of gluten-free graham crackers on top of the marshmallow base, breaking or cutting crackers as needed to fit snugly in the pan, providing a crunchy texture layer.
- Repeat Layers for Depth: Add another 1 cup of the marshmallow mixture on top of the graham crackers and smooth evenly. Pour 1/2 cup of the coconut milk chocolate ganache over the marshmallow layer, spreading gently for even coverage.
- Pure Layering Bliss: Repeat the sequence of layering graham crackers, marshmallow mixture, and chocolate ganache two more times, ensuring each layer is even and well distributed for a structured, beautiful cake.
- Chill to Perfection: Cover the top of the layered cake with saran wrap, sealing tightly to prevent drying. Refrigerate overnight (at least 8 hours) to allow all layers to set and flavors to meld beautifully.
- Unwrap and Serve: When ready to serve, remove the saran wrap from the top and carefully invert the cake onto a cutting board using the overhanging saran wrap for support. Peel away the plastic wrap gently. Sprinkle the reserved chocolate chips and crumbled graham crackers over the top for a decorative finish. Slice with a sharp knife and serve chilled.
Notes
- Use high-quality gluten-free chocolate chips and graham crackers for best flavor and texture.
- If marshmallow fluff is thick or hard to blend, warm it slightly for easier mixing.
- The cake must chill overnight to achieve the best texture and flavor melding.
- Leftovers keep well in an airtight container in the fridge for 3-4 days.
- For longer storage, freeze individual slices for 2-3 months; thaw overnight in the fridge before serving.
- Optional variations: substitute aquafaba for dairy-free whipped topping for a lighter vegan base, or spread nut butter instead of marshmallow fluff for a nutty twist.
- Serve with additional whipped cream, vanilla ice cream, or drizzle with chocolate sauce for extra indulgence.
- Prep Time: 20 minutes
- Cook Time: 0 minutes
- Category: Dessert
- Method: No-Cook
- Cuisine: American
Keywords: S’mores Icebox Cake, gluten-free dessert, no-bake cake, dairy-free, s’mores recipe, marshmallow dessert, chocolate ganache, summer dessert, easy dessert