
Red Velvet Marble Waffles Recipe
If you’re looking to shake up your breakfast routine and impress your family (or maybe just yourself!) on a Saturday morning, these Red Velvet Marble Waffles are nothing short of showstopping. This recipe brings together the plush, cocoa-kissed tang of red velvet with the irresistible fluffiness of classic waffles, all swirled into a marbled masterpiece that’s almost too beautiful to eat. Whether you’re after a romantic brunch or a whimsical treat for the kids, the Red Velvet Marble Waffles deliver both flavor and fun in every bite.
Ingredients You’ll Need
You’ll be amazed at how just a handful of kitchen staples can transform into a truly decadent breakfast. Every ingredient in this recipe pulls double duty, giving the waffles their dreamy texture, subtle cocoa flavor, and that iconic red hue that makes these Red Velvet Marble Waffles instantly enticing.
- All-Purpose Flour: The backbone for both batters, delivering structure and that classic waffle crumb.
- Sugar: Adds a gentle sweetness that shines through without being overwhelming.
- Baking Powder: Provides lift and ensures each waffle is perfectly fluffy and tender.
- Baking Soda: Works with the buttermilk to add even more airiness and just a touch of tang.
- Salt: Balances the sweet flavors and deepens the chocolatey notes.
- Buttermilk: Key to that tangy flavor and soft, plush interior—don’t skip it!
- Eggs: Essential for binding and puffing the batter into glorious waffles.
- Melted Butter: Brings richness and color, adding a classic buttery finish to the waffles.
- Vanilla Extract: A fragrant note that complements both the classic and red velvet portions perfectly.
- Cocoa Powder: The secret behind the signature red velvet flavor, offering a hint of chocolate to the red batter.
- Red Food Coloring: Provides that iconic jewel-toned swirl that’s simply irresistible.
How to Make Red Velvet Marble Waffles
Step 1: Mix the Classic Waffle Batter
Start by grabbing two good-sized mixing bowls—one for your dry ingredients, one for wet. In the first, whisk together the flour, sugar, baking powder, baking soda, and salt. In the second, combine buttermilk, eggs, melted butter, and vanilla. Pour the wet into the dry mix and gently stir just until it comes together. Don’t worry about small lumps; those will make your waffles extra tender!
Step 2: Prepare the Red Velvet Batter
For the red velvet layer, whisk together flour, cocoa powder, sugar, baking powder, baking soda, and salt in a fresh bowl. In another, stir your buttermilk, egg, melted butter, vanilla, and that dramatic red food coloring. Fold it all together to get a rich, scarlet batter with hints of chocolate—again, don’t overmix.
Step 3: Preheat Your Waffle Iron
Get your waffle iron nice and hot according to the manufacturer’s directions. A well-preheated iron ensures crisp-edged waffles with a gorgeously golden finish. Give it a light spray or brush of oil to prevent any sticking and help the marbling shine through.
Step 4: Create the Marbled Effect
This is where the magic happens! Splash a spoonful of classic waffle batter and a spoonful of red velvet batter onto the iron, alternating and overlapping. Grab a toothpick or the tip of a knife and gently swirl them together—don’t blend too much; you want gorgeous, distinct streaks of color.
Step 5: Cook to Perfection
Close the lid and let the Red Velvet Marble Waffles cook until perfectly crisp and golden (timing depends on your iron, but usually a few minutes per waffle). Watch as the colors peek through—every batch is its own edible work of art.
Step 6: Serve Them Up
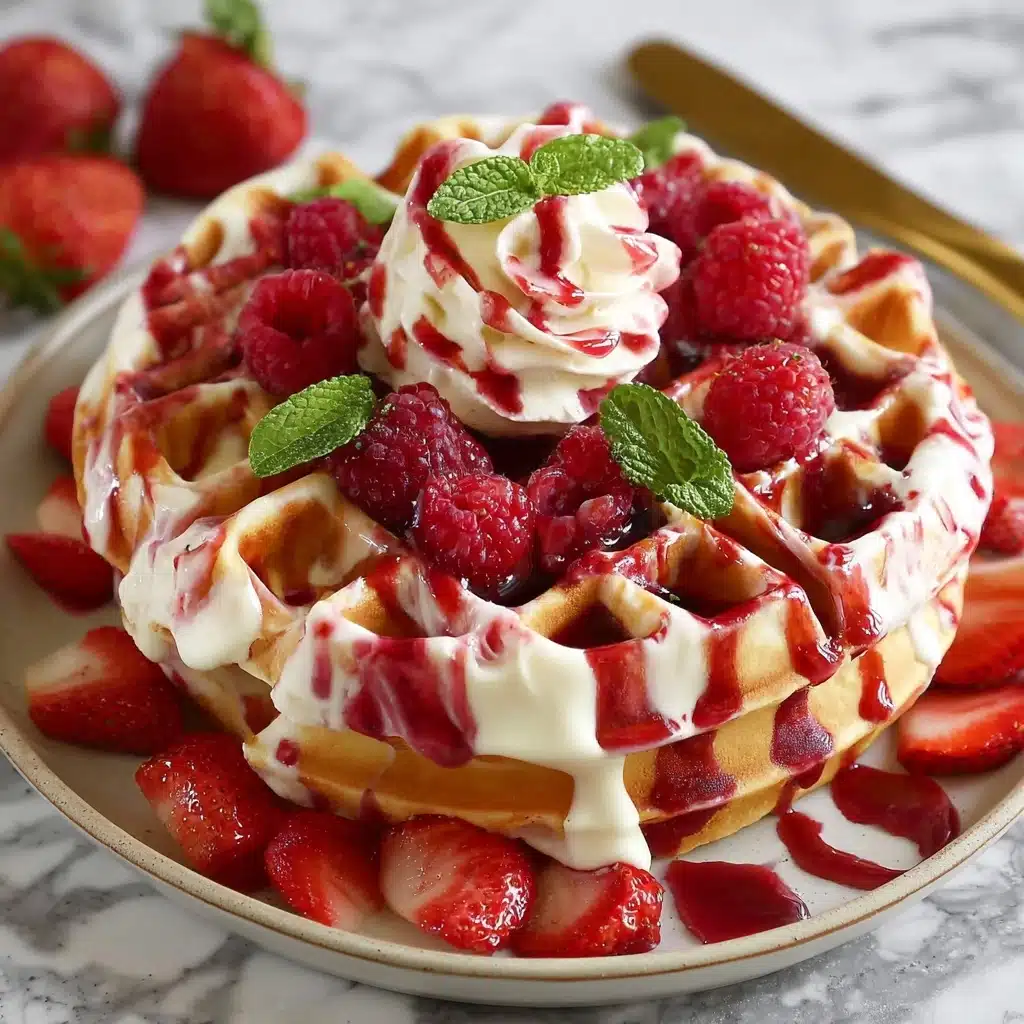
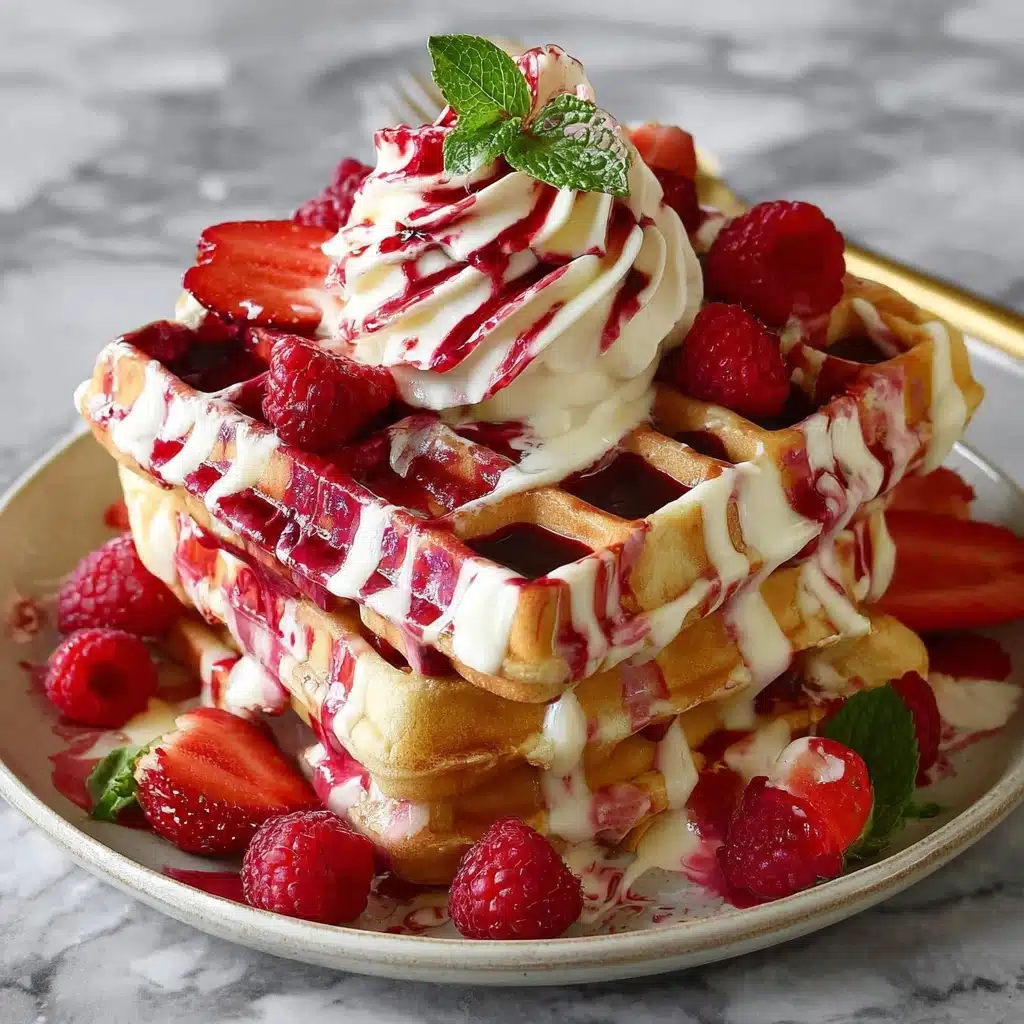
Lift each waffle out gently and serve them right away while they’re warm, fluffy, and ready for toppings. Get creative with whipped cream, a dusting of powdered sugar, or a handful of fresh berries to really make them brunch-worthy.
How to Serve Red Velvet Marble Waffles
Garnishes
Whipped cream, fresh strawberries, or a drizzle of maple syrup are classic choices, but don’t be afraid to sprinkle over some chocolate shavings or cream cheese glaze for an extra nod to the red velvet theme. The garnishes really let the colors and flavors pop and make each plate special.
Side Dishes
Pair your Red Velvet Marble Waffles with crispy bacon or savory breakfast sausages for contrast, or keep it light with a side of vanilla yogurt and fruit. A piping hot cup of coffee or a creamy latte rounds out the meal perfectly.
Creative Ways to Present
Stack them high, slice them into fun shapes for a brunch buffet, or serve mini-waffle portions for a brunch party spread. You could even sandwich two together with a smear of mascarpone or a scoop of vanilla ice cream for a playful dessert twist that’ll wow everyone at the table.
Make Ahead and Storage
Storing Leftovers
Place any leftover Red Velvet Marble Waffles in an airtight container and keep them in the refrigerator for up to three days. They’ll stay surprisingly soft and delicious, especially if you layer parchment between to prevent sticking.
Freezing
To freeze, arrange cooled waffles in a single layer on a baking sheet and chill until firm, then transfer to a freezer bag. They’ll keep beautifully for up to two months, waiting for that lazy morning craving.
Reheating
Reheat waffles straight from the fridge or freezer in a toaster, toaster oven, or conventional oven. This keeps them crisp outside and tender inside—just like freshly made. Simply toast until hot and enjoy.
FAQs
Can I make Red Velvet Marble Waffles without food coloring?
Absolutely! While the food coloring gives iconic red velvet flair, you can simply omit it for a more understated but equally tasty chocolate marble waffle.
Can I use regular milk instead of buttermilk?
You can, but you’ll lose some of the important tang and tender texture. If you’re out of buttermilk, try adding a teaspoon of lemon juice or vinegar to milk and let it sit for five minutes before using.
What can I use if I don’t have a waffle iron?
While a waffle iron is best for the signature look and crispness, you could cook the batter pancakes-style on a nonstick griddle instead. You’ll still get beautiful marbling and all the incredible flavor of Red Velvet Marble Waffles.
How do I keep waffles warm before serving a crowd?
Set your oven to low (around 200°F/95°C) and place cooked waffles on a baking sheet while you finish the rest of the batch. This way, everyone can enjoy them warm and fresh together.
Can I make the batters the night before?
Yes! Prepare each batter separately, cover, and refrigerate. Give them each a gentle stir before marbling and cooking in the morning for a delicious and easy breakfast experience.
Final Thoughts
I hope you’ll treat yourself to a batch of Red Velvet Marble Waffles soon—they’re as delightful to make as they are to eat. Whether you’re celebrating something special or just looking to brighten up a weekend, these waffles promise a breakfast experience that’s beautiful, delicious, and bound to create new traditions in your kitchen.
Print
Red Velvet Marble Waffles Recipe
- Total Time: 35 minutes
- Yield: 8 waffles 1x
- Diet: Vegetarian
Description
Indulge in a delightful breakfast with these Red Velvet Marble Waffles. Combining the classic waffle batter with a vibrant red velvet twist, these waffles are not only visually appealing but also incredibly delicious.
Ingredients
For the Classic Waffle Batter:
- 1 1/2 cups all-purpose flour
- 1 tablespoon sugar
- 1 teaspoon baking powder
- 1/2 teaspoon baking soda
- 1/4 teaspoon salt
- 1 cup buttermilk
- 2 large eggs
- 1/4 cup melted butter
- 1 teaspoon vanilla extract
For the Red Velvet Batter:
- 1 cup all-purpose flour
- 2 tablespoons cocoa powder
- 1/4 cup sugar
- 1 teaspoon baking powder
- 1/2 teaspoon baking soda
- 1/4 teaspoon salt
- 3/4 cup buttermilk
- 1 large egg
- 1/4 cup melted butter
- 1 teaspoon vanilla extract
- 1 tablespoon red food coloring
Instructions
- Prepare the Classic Waffle Batter: In a mixing bowl, whisk together the flour, sugar, baking powder, baking soda, and salt. In another bowl, whisk together the buttermilk, eggs, melted butter, and vanilla extract. Pour the wet ingredients into the dry ingredients and mix until just combined. Do not overmix.
- Prepare the Red Velvet Batter: In a separate mixing bowl, whisk together the flour, cocoa powder, sugar, baking powder, baking soda, and salt. In another bowl, whisk together the buttermilk, egg, melted butter, vanilla extract, and red food coloring. Pour the wet ingredients into the dry ingredients and mix until just combined. Do not overmix.
- Preheat the Waffle Iron: Preheat your waffle iron according to the manufacturer’s instructions.
- Create the Marbled Effect: Lightly grease the waffle iron. Pour a small amount of classic waffle batter onto the waffle iron, followed by a small amount of red velvet batter. Use a toothpick or a knife to gently swirl the batters together to create a marbled effect.
- Cook the Waffles: Close the waffle iron and cook according to the manufacturer’s instructions until the waffles are golden brown and cooked through.
- Serve: Serve the waffles warm with your favorite toppings such as whipped cream, fresh berries, or maple syrup.
- Prep Time: 15 minutes
- Cook Time: 20 minutes
- Category: Breakfast
- Method: Baking
- Cuisine: American
Nutrition
- Serving Size: 1 waffle
- Calories: 260
- Sugar: 9g
- Sodium: 380mg
- Fat: 12g
- Saturated Fat: 7g
- Unsaturated Fat: 4g
- Trans Fat: 0g
- Carbohydrates: 32g
- Fiber: 1g
- Protein: 6g
- Cholesterol: 80mg
Keywords: Red Velvet Marble Waffles, breakfast waffles, marbled waffles, waffle recipes


