
Decadent Brownie Refrigerator Cake Recipe
Introduction
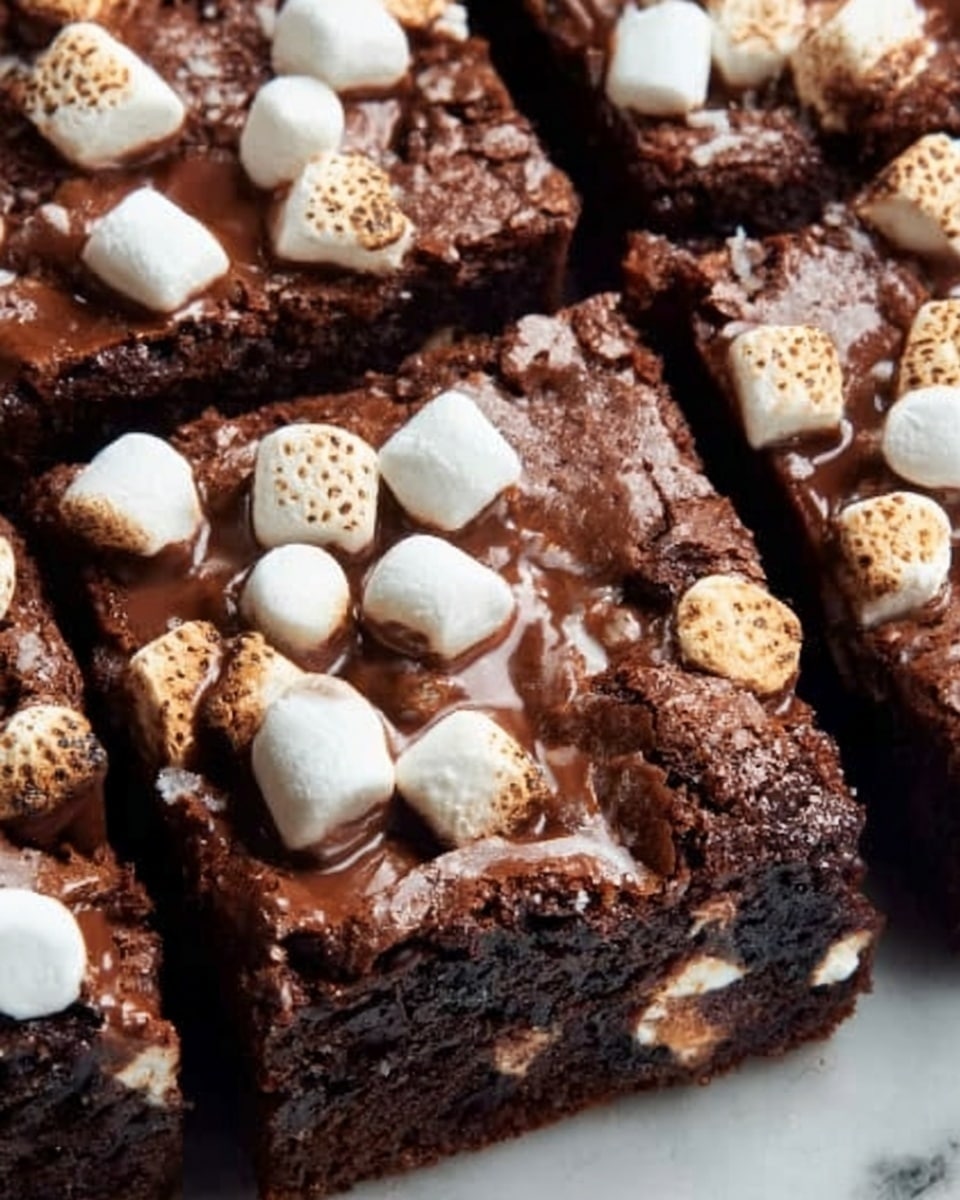
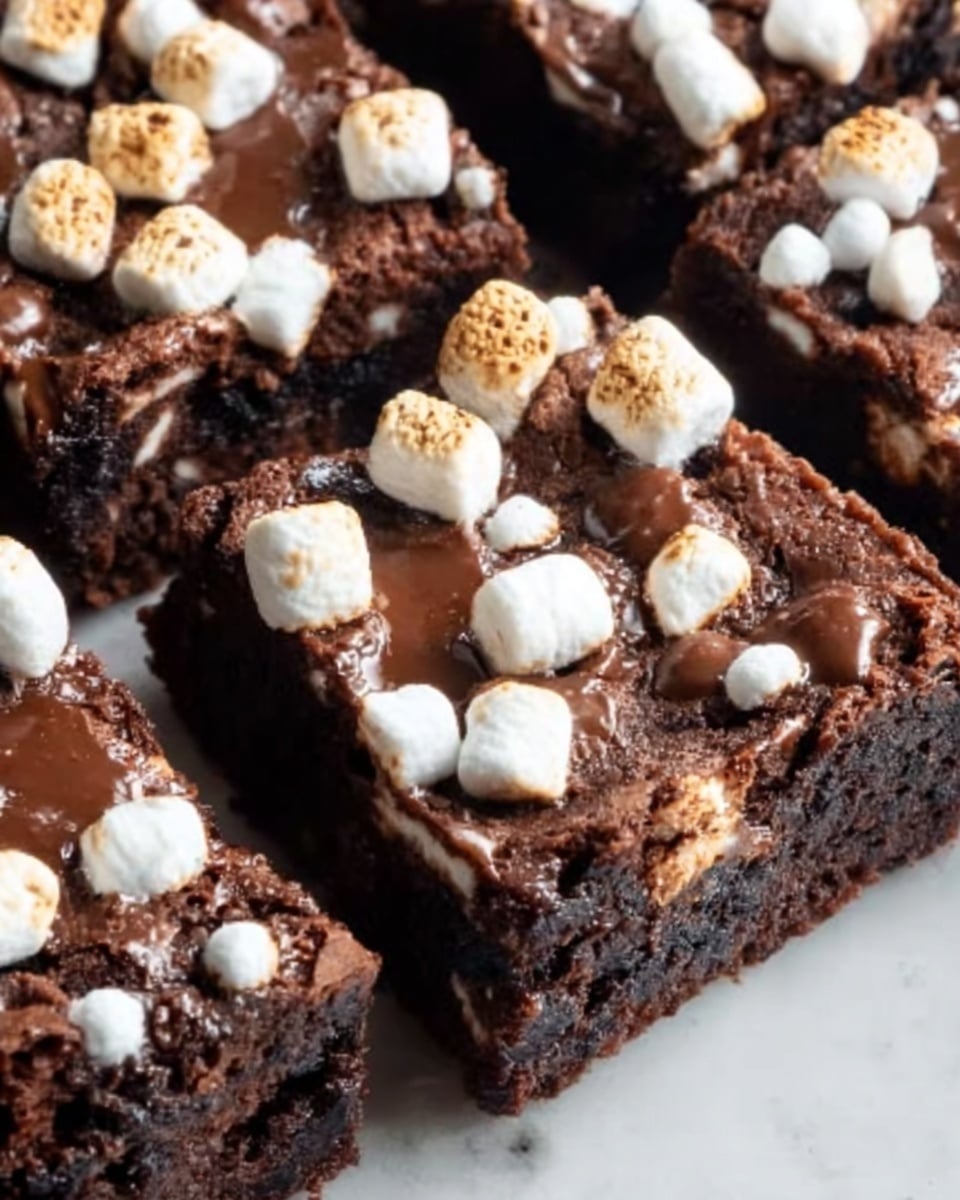
In a world where life’s demands can often feel overwhelming, there’s something truly soothing about whipping up a no-bake dessert. Allow me to introduce you to my ultimate comfort food: the Brownie Refrigerator Cake. This layered delight combines fudgy brownie goodness with creamy, dreamy toppings for an easy yet impressive treat.
Ingredients
- 1 box Brownie Mix (Opt for gluten-free for dietary needs.)
- 8 oz Cream Cheese (Ensure it’s at room temperature.)
- 1 pkg Instant Pudding Mix (Chocolate or Vanilla; mix and match for twists.)
- 8 oz Whipped Topping (Thaw before spreading; non-dairy versions can be used.)
- 1 cup Milk (Can be substituted with dairy-free alternatives.)
- 1 tbsp Espresso Powder (Optional; enhances chocolate flavor.)
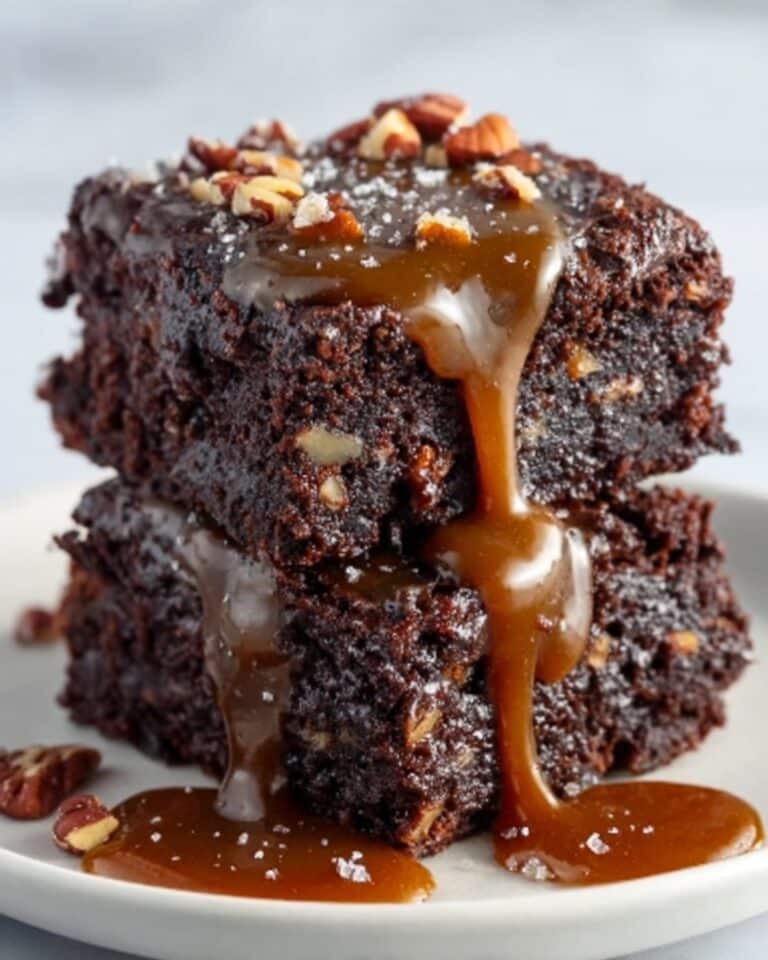
- Garnishes (e.g., crushed nuts, fresh berries, caramel sauce) (Elevate presentation and flavor.)
Instructions
- Step 1: Preheat your oven to 350°F (175°C) and bake the brownie mix in a greased baking dish for about 25-30 minutes.
- Step 2: Allow the brownies to cool completely in the pan.
- Step 3: In a medium bowl, beat the room-temperature cream cheese until smooth, mix in powdered sugar to taste, and fold in half of the whipped topping.
- Step 4: In a separate bowl, whisk together the instant pudding mix, milk, and espresso powder (if using) until thickened.
- Step 5: Spread the cream cheese mixture evenly over the cooled brownies.
- Step 6: Pour the pudding layer on top of the cream cheese layer, then dollop the remaining whipped topping over the pudding.
- Step 7: Cover and refrigerate for at least 2 hours or overnight for best flavor and texture.
- Step 8: Before serving, slice the cake and garnish with fresh berries, crushed nuts, or a drizzle of caramel sauce as desired.
Tips & Variations
- Substitute dairy-free cream cheese and milk to make this dessert vegan-friendly.
- Try mixing chocolate and vanilla pudding for a fun flavor twist.
- Add espresso powder to intensify the chocolate flavor without making it taste like coffee.
- For extra crunch, sprinkle chopped nuts between layers or on top before refrigerating.
Storage
Store the brownie refrigerator cake covered in the refrigerator for up to 3 days. Reheat is not recommended as this dessert is best served chilled. If needed, let it sit at room temperature for 10 minutes before serving to soften slightly.
How to Serve
Serve this delicious recipe with your favorite sides.
FAQs
Can I use homemade brownies instead of boxed mix?
Yes, homemade brownies work wonderfully. Just make sure they are fully cooled before assembling the layers.
Is it necessary to refrigerate the cake overnight?
Refrigerating overnight is ideal as it allows the flavors to meld and the layers to set properly, resulting in a creamier texture.
Print
Decadent Brownie Refrigerator Cake Recipe
- Total Time: 2 hours 45 minutes (including chilling time)
- Yield: 8 servings 1x
- Diet: Gluten Free
Description
The Decadent Brownie Refrigerator Cake is an easy no-bake layered dessert that combines fudgy baked brownies with creamy cream cheese, instant pudding, and whipped topping layers. Perfect for a quick yet indulgent treat, it offers a rich chocolate flavor enhanced optionally with espresso powder and can be customized with your favorite garnishes like fresh berries or nuts. Refrigerated to set, this cake is a comforting and delicious dessert ideal for any occasion.
Ingredients
Brownie Base
- 1 box Brownie Mix (opt for gluten-free if needed)
- 1 tbsp Espresso Powder (optional, enhances chocolate flavor)
Cream Cheese Layer
- 8 oz Cream Cheese, room temperature
- Powdered Sugar (amount not specified, approximately 1/3 to 1/2 cup)
- 4 oz Whipped Topping (half of 8 oz container), thawed
Pudding Layer
- 1 pkg Instant Pudding Mix (Chocolate or Vanilla)
- 1 cup Milk (dairy or dairy-free alternative)
Finishing Layer
- Remaining 4 oz Whipped Topping (thawed)
Garnishes (Optional)
- Crushed nuts
- Fresh berries
- Caramel sauce
Instructions
- Prepare Brownies: Preheat the oven to 350°F (175°C). Grease a baking dish and bake the brownie mix according to package instructions, about 25-30 minutes, optionally adding espresso powder to the batter to enhance chocolate flavor.
- Cool Brownies: Allow the baked brownies to cool completely in the pan to room temperature before assembling the cake.
- Make Cream Cheese Layer: In a medium bowl, beat the room-temperature cream cheese until smooth. Add powdered sugar (approximately 1/3 to 1/2 cup) and continue beating until combined. Gently fold in half of the whipped topping (4 oz) until incorporated.
- Prepare Pudding: In a separate bowl, whisk together the instant pudding mix and 1 cup milk until thickened, approximately 2 minutes.
- Assemble Cake: Spread the cream cheese mixture evenly over the cooled brownie layer. Pour the pudding layer on top, smoothing it out evenly. Dollop and gently spread the remaining whipped topping over the pudding layer.
- Chill: Cover the assembled cake and refrigerate for at least 2 hours or preferably overnight to allow layers to set and flavors to meld.
- Serve: Slice the refrigerated cake into portions and garnish with fresh berries, crushed nuts, or a drizzle of caramel sauce as desired before serving.
Notes
- For a gluten-free version, choose a gluten-free brownie mix.
- Room temperature cream cheese blends more easily for a smooth layer.
- Espresso powder is optional but intensifies the chocolate flavor.
- Allow brownies to cool completely to avoid melting the cream cheese layer.
- Use non-dairy whipped topping and milk alternatives to make the dessert dairy-free.
- Refrigeration time can be extended to overnight for best texture and flavor.
- Customize garnishes to suit your taste for presentation and added texture.
- Prep Time: 15 minutes
- Cook Time: 30 minutes
- Category: Dessert
- Method: Baking
- Cuisine: American
Keywords: Brownie Refrigerator Cake, no-bake cake, layered dessert, chocolate dessert, easy dessert, refrigerator cake, cream cheese cake, instant pudding recipe, gluten-free dessert


