
Cookie Butter Cheesecake Cups Recipe
Introduction
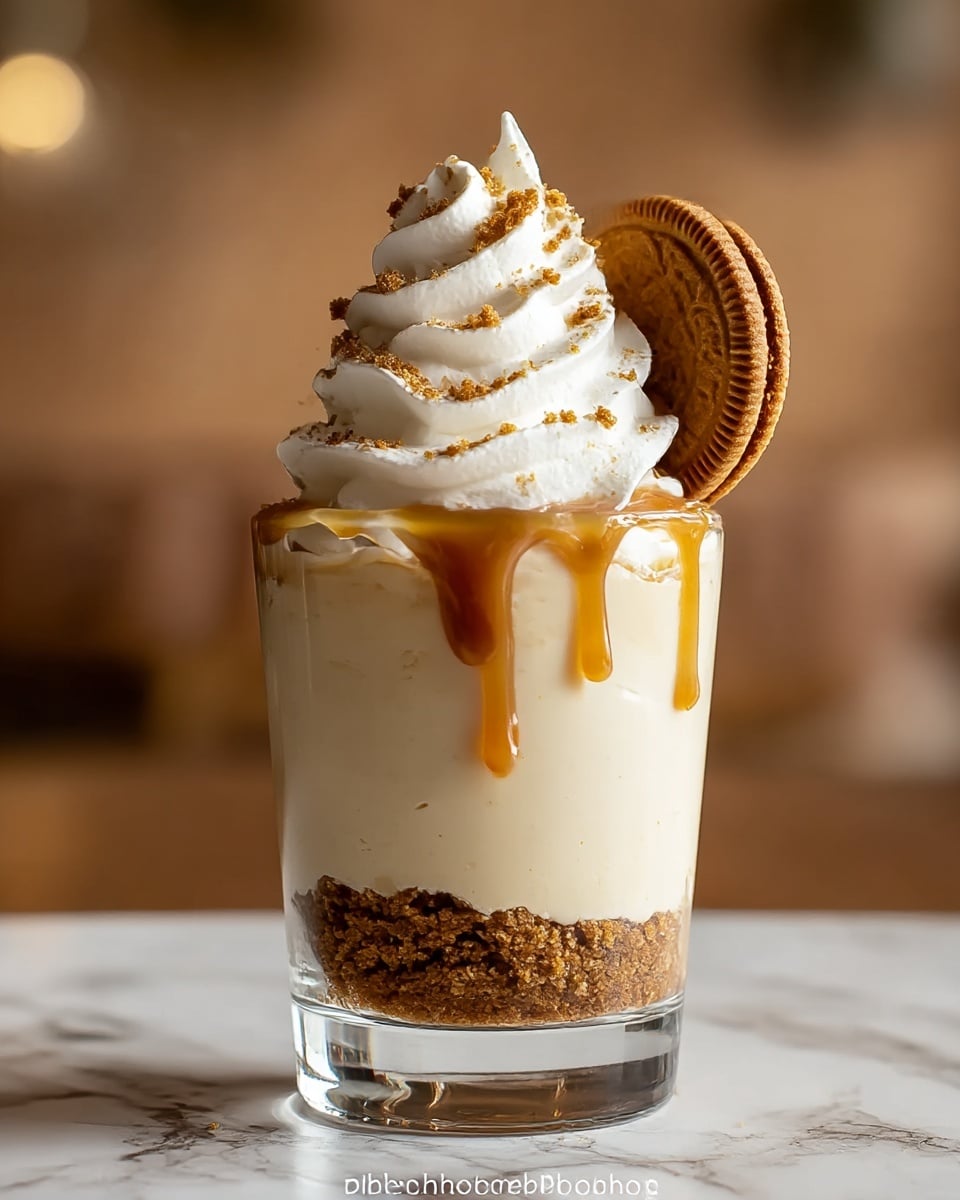
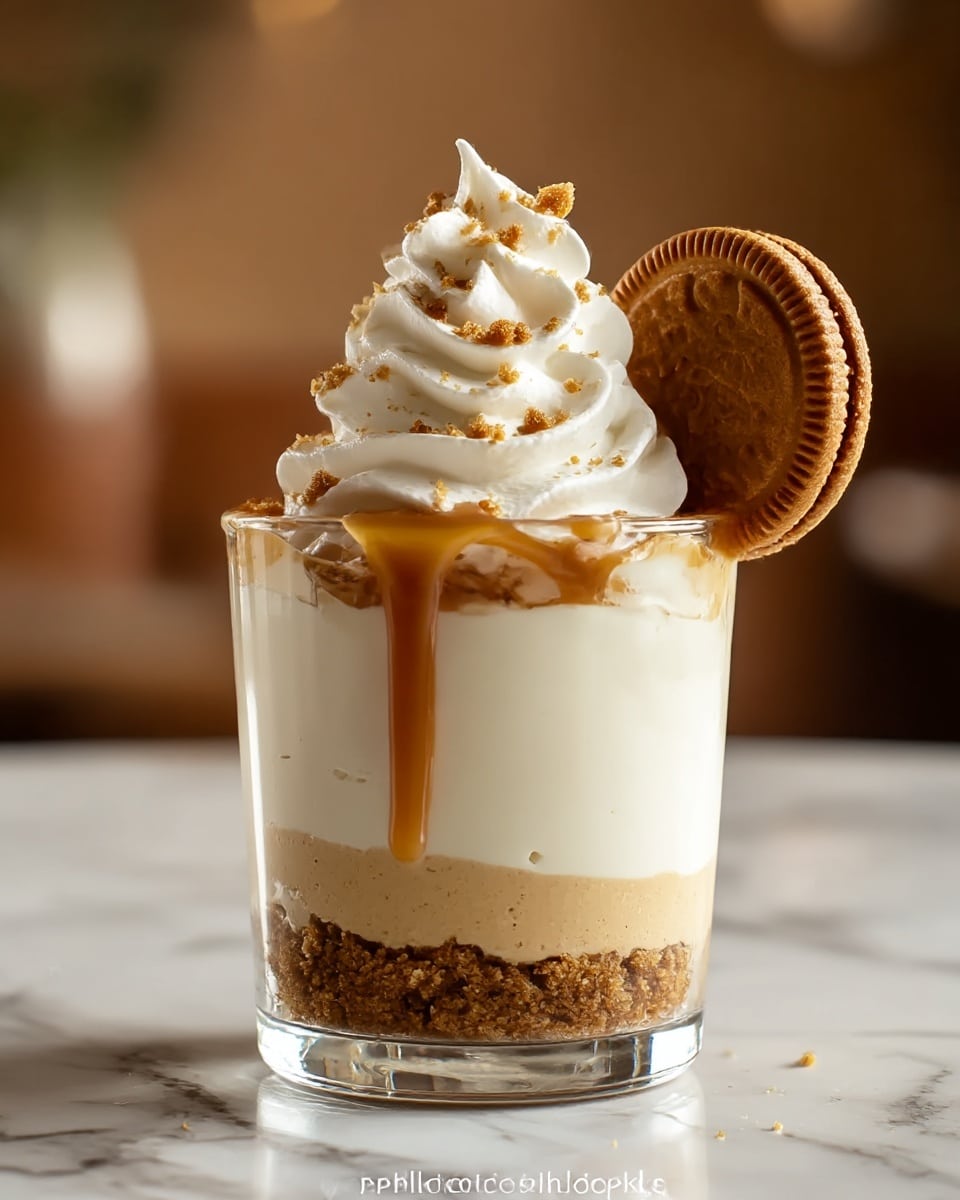
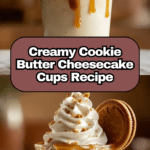
These Cookie Butter Cheesecake Cups are a delightful no-bake treat that combines the rich creaminess of cheesecake with the warm, spiced flavor of cookie butter. Perfect for individual servings, they are easy to assemble and make an impressive dessert for any occasion.
Ingredients
- For the Crust
- 1 cup graham cracker crumbs (about 8 full sheets)
- 3 tablespoons unsalted butter, melted
- 1 tablespoon powdered sugar
- For the Cheesecake Filling
- 8 ounces full-fat cream cheese, softened
- 1/2 cup smooth cookie butter
- 1/3 cup powdered sugar
- 1 teaspoon vanilla extract
- 1 cup heavy whipping cream, cold
- For Garnish (Optional)
- 2 tablespoons cookie butter, melted
- Crushed graham crackers
- Mini chocolate chips
Instructions
- Step 1: Make the crust. In a small bowl, mix the graham cracker crumbs, melted butter, and 1 tablespoon of powdered sugar until it resembles wet sand. Divide this mixture evenly among 6 small cups or ramekins (about 3-4 oz each). Press down firmly with the back of a spoon to create a compact base. Place the cups in the refrigerator to chill while you make the filling.
- Step 2: In a large mixing bowl, beat the softened cream cheese with an electric mixer until completely smooth and no lumps remain. This might take a minute or two. Scrape down the sides of the bowl. Add the 1/2 cup of cookie butter, 1/3 cup powdered sugar, and vanilla extract. Beat again until everything is well combined and creamy.
- Step 3: In a separate, clean bowl, beat the cold heavy whipping cream on medium-high speed until stiff peaks form. This means when you lift the beaters, the cream stands up straight and doesn’t droop. Be careful not to overbeat, or it will turn to butter.
- Step 4: Gently fold the whipped cream into the cream cheese mixture. Use a spatula and a slow, sweeping motion to incorporate them without deflating the cream. Fold until no white streaks remain and the filling is uniform.
- Step 5: Remove the cups from the fridge. Spoon or pipe the cheesecake filling over the chilled crusts, smoothing the tops. For a fancy touch like a cheesecake taco, you can use a piping bag.
- Step 6: Cover the cups loosely with plastic wrap and refrigerate for at least 4 hours, or preferably overnight, to allow them to set firmly.
- Step 7: Just before serving, drizzle with melted cookie butter and sprinkle with crushed graham crackers or other desired toppings. Serve chilled.
Tips & Variations
- For a stronger cookie butter flavor, increase the amount in the filling to 2/3 cup.
- If you don’t have individual cups, make this in a 7-inch springform pan for a larger dessert.
- Use a piping bag to create a decorative topping for a fancy presentation.
Storage
Store leftover cheesecake cups covered in the refrigerator for up to 3 days. When ready to enjoy, serve chilled straight from the fridge. Avoid freezing as it may affect the texture of the cream cheese filling.
How to Serve
Serve this delicious recipe with your favorite sides.
FAQs
Can I use crunchy cookie butter instead of smooth?
Yes, you can use crunchy cookie butter, but the texture of the filling will be slightly different and may have small cookie pieces throughout.
Do I need an electric mixer to make this dessert?
While an electric mixer makes the process faster and easier, you can also use a whisk to beat the cream cheese and heavy cream, though it will require more effort and time.
Print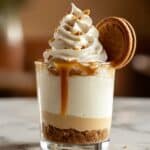
Cookie Butter Cheesecake Cups Recipe
- Total Time: 4 hours 20 minutes
- Yield: 6 individual cheesecake cups 1x
Description
These Cookie Butter Cheesecake Cups offer a luscious, no-bake dessert with a crunchy graham cracker crust and a creamy, smooth cookie butter cheesecake filling. Perfect for individual servings, these cups combine the rich flavor of cookie butter with classic cheesecake texture, garnished with a drizzle of cookie butter and crunchy toppings for a delightful treat.
Ingredients
For the Crust
- 1 cup graham cracker crumbs (about 8 full sheets)
- 3 tablespoons unsalted butter, melted
- 1 tablespoon powdered sugar
For the Cheesecake Filling
- 8 ounces full-fat cream cheese, softened
- 1/2 cup smooth cookie butter
- 1/3 cup powdered sugar
- 1 teaspoon vanilla extract
- 1 cup heavy whipping cream, cold
For Garnish (Optional)
- 2 tablespoons cookie butter, melted
- Crushed graham crackers
- Mini chocolate chips
Instructions
- Make the crust. In a small bowl, mix the graham cracker crumbs, melted butter, and powdered sugar until the mixture resembles wet sand. Divide the crust mixture evenly among 6 small cups or ramekins (3-4 oz each), pressing firmly to create a compact base. Refrigerate while preparing the filling.
- Prepare the cream cheese mixture. Beat the softened cream cheese in a large bowl with an electric mixer until smooth and lump-free. Scrape down the sides of the bowl, then add cookie butter, powdered sugar, and vanilla extract. Beat again until well combined and creamy.
- Whip the heavy cream. In a separate chilled bowl, beat the cold heavy whipping cream on medium-high speed until stiff peaks form. Be careful not to overbeat to avoid turning the cream into butter.
- Fold whipped cream into cream cheese filling. Gently fold the whipped cream into the cream cheese mixture using a spatula with slow, sweeping motions until uniform and no white streaks remain.
- Assemble the cheesecake cups. Remove crust cups from the refrigerator, then spoon or pipe the cheesecake filling over the chilled crusts, smoothing the tops as desired.
- Chill to set. Cover cups loosely with plastic wrap and refrigerate for at least 4 hours or preferably overnight to allow the cheesecake filling to set firmly.
- Garnish and serve. Before serving, drizzle melted cookie butter over each cup and sprinkle with crushed graham crackers or mini chocolate chips. Serve chilled for best flavor and texture.
Notes
- For a stronger cookie butter flavor, increase cookie butter in the filling to 2/3 cup.
- If individual cups are unavailable, this can be made in a 7-inch springform pan for a larger cheesecake.
- Store any leftovers covered in the refrigerator for up to 3 days to maintain freshness.
- Prep Time: 20 minutes
- Cook Time: 0 minutes
- Category: Dessert
- Method: No-Cook
- Cuisine: American
Keywords: cookie butter cheesecake, no-bake cheesecake, individual cheesecake cups, graham cracker crust, creamy cheesecake dessert
