
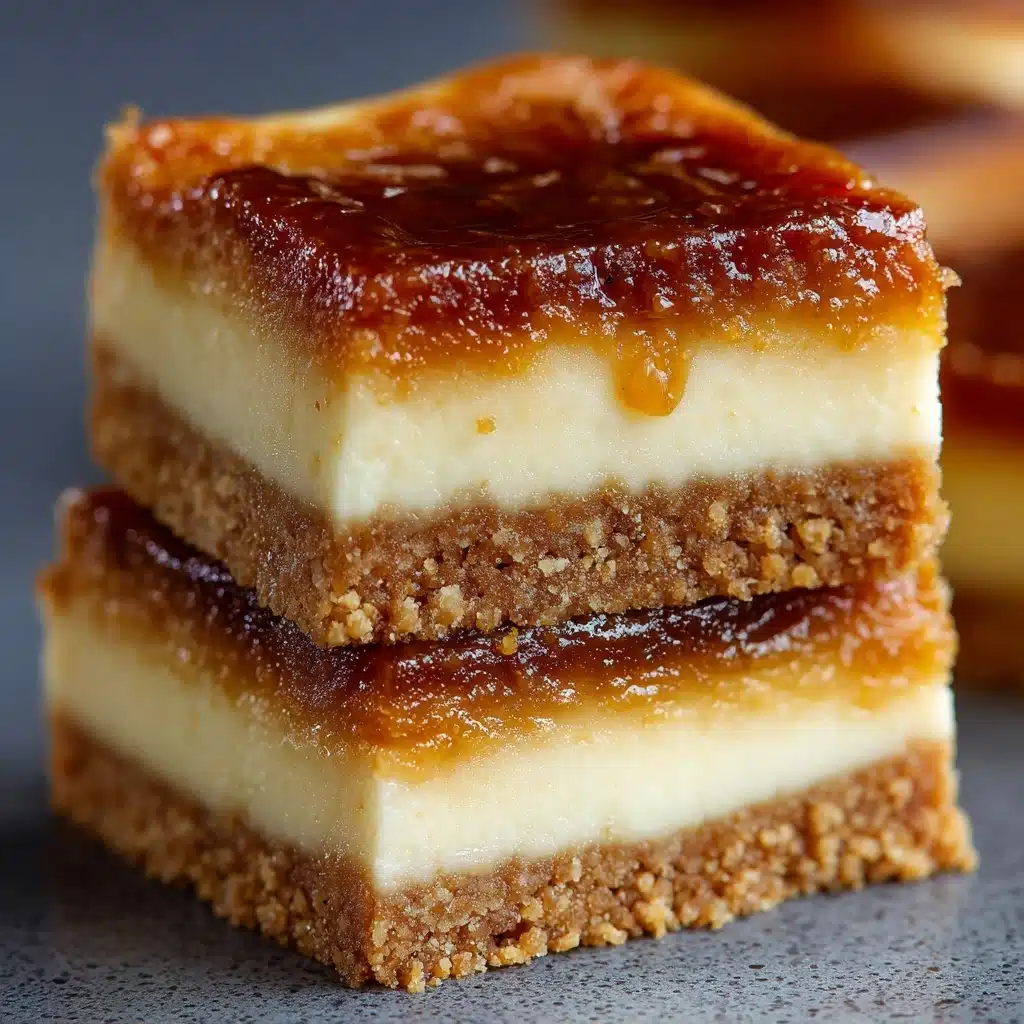
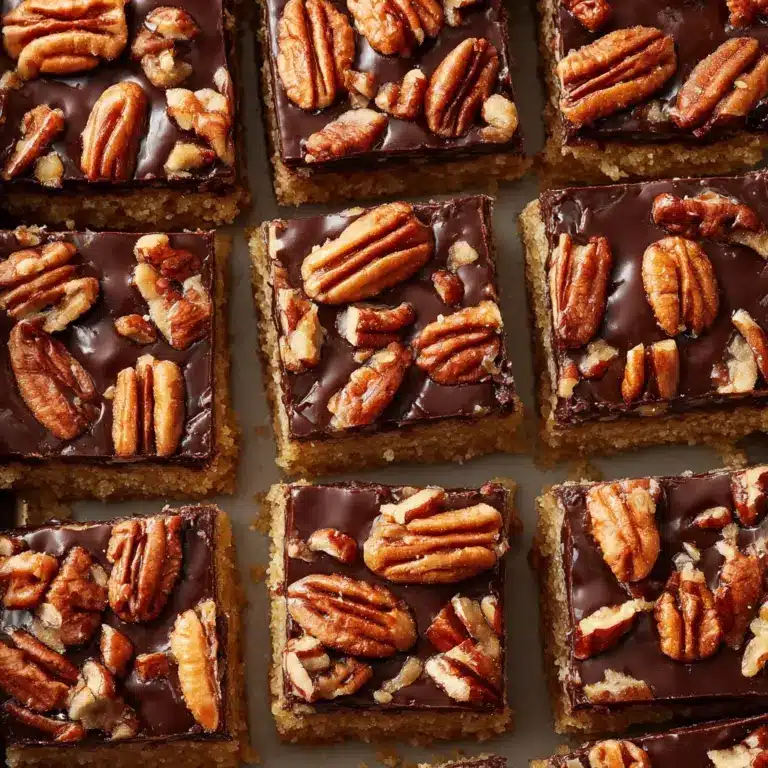
Butter Tart Squares Recipe
If you’re craving the classic flavors of a Canadian favorite but want a fuss-free way to serve a crowd, these Butter Tart Squares are downright magical. Imagine everything you adore about a gooey, caramelized butter tart—rich, buttery pastry and sweet, dreamy filling—transformed into an effortless bar that’s perfect for bake sales, potlucks, or cozy evenings at home. With just a few staple pantry ingredients and minimal prep, you’ll have a dessert that’s sure to please everyone, even those who swear they don’t have a sweet tooth.
Ingredients You’ll Need
Each ingredient in Butter Tart Squares brings something special to the party. The humble staples transform into something extraordinary, with the crust lending a melt-in-your-mouth bite and the filling creating that signature, irresistible gooeyness. Here’s your foolproof checklist for Butter Tart Square success:
- All-purpose flour: The backbone of your crust, giving it just the right tender structure without being too crumbly.
- Icing sugar (powdered sugar): Adds delicate sweetness and ensures the base melts beautifully on your tongue.
- Unsalted butter (cold, for crust): Creates flaky, buttery texture; be sure to use cold butter for the best results.
- Cold water (optional): Only needed if your crust feels a bit dry; helps bring the dough together perfectly.
- Unsalted butter (for filling): Brings a lovely richness and silky smooth melt to the filling.
- Brown sugar: The key to a robust caramel flavor and the classic butterscotch notes of butter tarts.
- Large eggs: Help the filling set so every square holds together just right but remains gloriously soft.
- White vinegar: Just a splash adds a gentle tang that balances the sweetness and gives the filling that classic texture.
- Vanilla extract: Warm, aromatic vanilla rounds everything out and deepens the flavor profile.
- Raisins (optional): Stirring these in brings chewy bites and an extra hit of nostalgia—completely up to you!
How to Make Butter Tart Squares
Step 1: Prep Your Pan and Preheat
Grab a trusty 9×13 inch pan and line it with parchment paper, letting the edges hang over for an easy lift later. Give the parchment a quick spritz with cooking spray. This way, nothing sticks, and cleanup is a breeze! Preheat your oven to 350°F (about 175°C) while you get your ingredients ready—organization makes everything smoother.
Step 2: Mix Up the Crust
In a large bowl, whisk together the all-purpose flour and icing sugar. Drop in the cold, cubed butter. Using a pastry cutter (or your fingers if you want to get hands-on), work the butter into the flour until the mixture looks like coarse crumbs with pea-sized bits. Give it a squeeze—if it holds together, you’re golden. Too crumbly? One or two tablespoons of cold water will do the trick.
Step 3: Press and Bake the Base
Tumble the crumbly dough into your lined baking pan. Using clean hands or the back of a measuring cup, press it firmly and evenly into the base. Bake in the preheated oven for 10 minutes. This sets the stage for that luscious layer of filling coming next.
Step 4: Make the Gooey Butter Tart Filling
While your crust is baking, add the butter for the filling to a microwave-safe bowl and melt it. Whisk in the brown sugar until totally smooth—already smells amazing, right? Crack in the eggs one at a time, whisking well after each goes in. Now, pour in the white vinegar and vanilla extract. If you love a chewy surprise, stir in the raisins, but feel free to skip if you’re in Camp No Raisins.
Step 5: Assemble and Bake
Once your crust’s brief bake is up, pull it from the oven and pour that glowing filling right on top, spreading it out evenly. Slide the pan back into the oven and bake for 25 to 30 minutes. The top should look set with just a little wiggle in the center—it will firm up more as it cools. If the middle is super runny, give it another couple of minutes.
Step 6: Cool and Chill
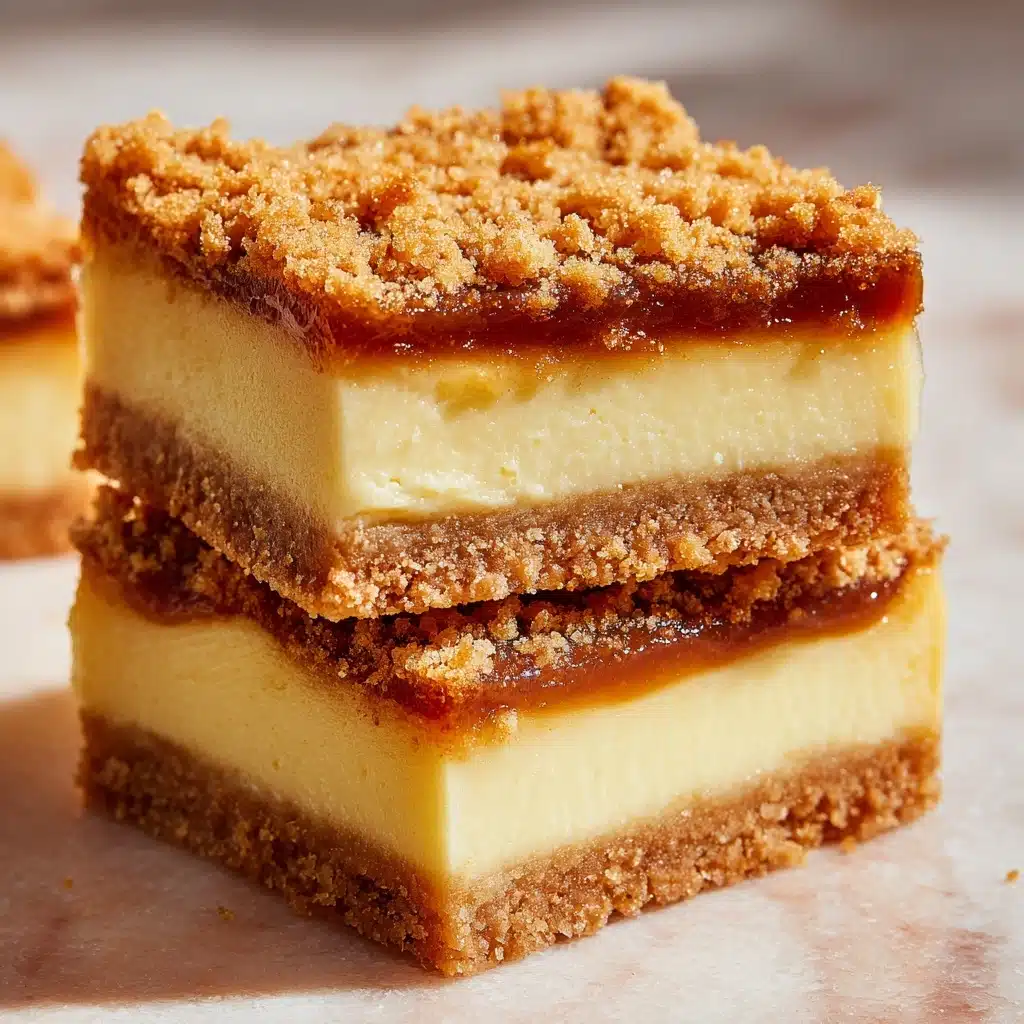
Fair warning: waiting is the hardest part! Let your Butter Tart Squares cool to room temperature, then pop the pan into the fridge for at least two hours so everything sets beautifully and you get cleaner slices. Once chilled, lift the slab out, cut into neat squares, and admire your handiwork—it’s Butter Tart Square perfection!
How to Serve Butter Tart Squares
Garnishes
While Butter Tart Squares absolutely shine on their own, a little finishing touch makes them extra special. For a subtle crunch and sparkle, dust with a touch more icing sugar just before serving. If you’re feeling ultra-indulgent, a dollop of freshly whipped cream on the side is swoon-worthy. Some folks even garnish with a few extra raisins on top to telegraph those delightful chewy bites inside.
Side Dishes
Honestly, Butter Tart Squares are stars all on their own, but they adore good company. Pair them with a hot cup of coffee or a glass of cold milk for a classic Canadian treat. At fancier gatherings, they’re lovely alongside a fresh fruit salad or a scoop of vanilla ice cream—simple, but so satisfying.
Creative Ways to Present
If you want to pull out all the stops, arrange your Butter Tart Squares in staggered rows on a wooden board, interspersed with fresh berries or sprigs of mint for a rustic-chic dessert platter. For bake sales or picnics, wrap individual squares in parchment and tie with twine for adorable, grab-and-go treats. You can even crumble leftover squares over yogurt for the world’s best breakfast parfait.
Make Ahead and Storage
Storing Leftovers
Once cooled and cut, keep Butter Tart Squares in an airtight container in the fridge. They’ll taste fabulous for up to five days, and chilling actually intensifies that wonderful butterscotch flavor. Layer parchment or wax paper between squares to keep them from sticking together.
Freezing
Butter Tart Squares freeze beautifully! Place them in a single layer on a baking sheet to freeze solid, then transfer to a resealable bag or container. They’ll keep their magic for up to three months. To enjoy, simply thaw in the fridge overnight or on the counter for an hour or two before serving.
Reheating
You can serve Butter Tart Squares perfectly chilled, but if you crave a little warmth, pop a square into the microwave for 10 to 15 seconds. It’ll take the chill off and make the filling even gooier. For a firmer bite, simply enjoy them cold—both ways are delightful!
FAQs
How do I know when Butter Tart Squares are done baking?
Look for a mostly set filling with just a slight jiggle in the very center; it will continue to firm up as it cools. If the whole pan seems wobbly, bake for another few minutes, checking frequently—you want that signature gooeyness, not soup!
Can I leave out the raisins?
Absolutely! Raisins are totally optional in Butter Tart Squares. If you want to keep things traditional-yet-simple, skip them and the bars will still be wonderfully rich and satisfying.
What can I use instead of icing sugar in the crust?
If you don’t have icing sugar, you can substitute with regular granulated sugar. The crust will be very slightly less tender, but still delicious and crisp. Icing sugar gives the smoothest, melt-in-your-mouth texture.
Can I use salted butter instead of unsalted?
Yes, you can use salted butter in a pinch. Just skip any added salt in the recipe, and your Butter Tart Squares will still taste fantastic with a bit more depth and balance.
Why do I need vinegar in the filling?
The touch of vinegar is classic in butter tart recipes—it cuts the sweetness, helps set the filling, and brings that subtle flavor tang which makes butter tarts and Butter Tart Squares truly addictive.
Final Thoughts
Whether you’re channeling childhood nostalgia or just looking for a no-fuss treat that wins hearts every time, these Butter Tart Squares are always a hit. They make baking for a crowd a breeze and deliver all the flavor (and gooey goodness!) you dream of. Give them a try—you’ll want to share this recipe with friends and family, too!
Print
Butter Tart Squares Recipe
- Total Time: 1 hour
- Yield: 12 squares 1x
- Diet: Vegetarian
Description
Indulge in these delectable Butter Tart Squares that offer a perfect combination of a buttery crust and a sweet, gooey filling. Great for any occasion or simply as a treat!
Ingredients
Crust:
- 2 cups of all-purpose flour
- 4 tablespoons of icing sugar
- 1 cup of cold, unsalted butter (cut into small cubes)
- 1–2 tablespoons of cold water (optional, only if the crust is too dry)
Filling:
- ½ cup of unsalted butter
- 3 cups of brown sugar
- 4 large eggs
- 1–2 tablespoons of white vinegar
- 1 tablespoon of vanilla extract
- Optional: ¾ cup of raisins
Instructions
- Get your pan ready: Use a 9×13 inch pan. Line it with parchment paper and spray with cooking spray.
- Preheat the oven: Set to 350°F (about 175°C).
- Make the Crust: Mix flour and icing sugar. Cut in cold butter. Press into pan and bake for 10 minutes.
- Make the Filling: Melt butter, mix in brown sugar, eggs, vinegar, vanilla, and raisins (if using).
- Put It All Together: Pour filling over baked crust. Bake for 25–30 minutes.
- Cool and Chill: Cool to room temperature, refrigerate for a few hours, cut into squares, and enjoy!
- Prep Time: 20 minutes
- Cook Time: 40 minutes
- Category: Dessert
- Method: Baking
- Cuisine: North American
Nutrition
- Serving Size: 1 square
- Calories: 320
- Sugar: 28g
- Sodium: 120mg
- Fat: 15g
- Saturated Fat: 9g
- Unsaturated Fat: 5g
- Trans Fat: 0g
- Carbohydrates: 45g
- Fiber: 1g
- Protein: 4g
- Cholesterol: 90mg
Keywords: Butter Tart Squares, Dessert, Baking, Sweet Treat
